


Episode SR145
"Good Old Coot"
[from 03/26/13 Script]
Locations
| Coot's Workshop (Exterior) |


| Coot's Workshop (Interior) |
| Cafeteria (Exterior) |

| Cafeteria (Interior) |
| Launchpad |
| Observatory (Exterior) |
| Observatory (Interior) |
| Stardust Bay |
| Dormitory (Exterior) |
| Starling's Bedroom |
| Mission Control (Exterior) |
| Mission Control/Map Room (Interior) |
|
 |

|

|
|
|
render not required |
|
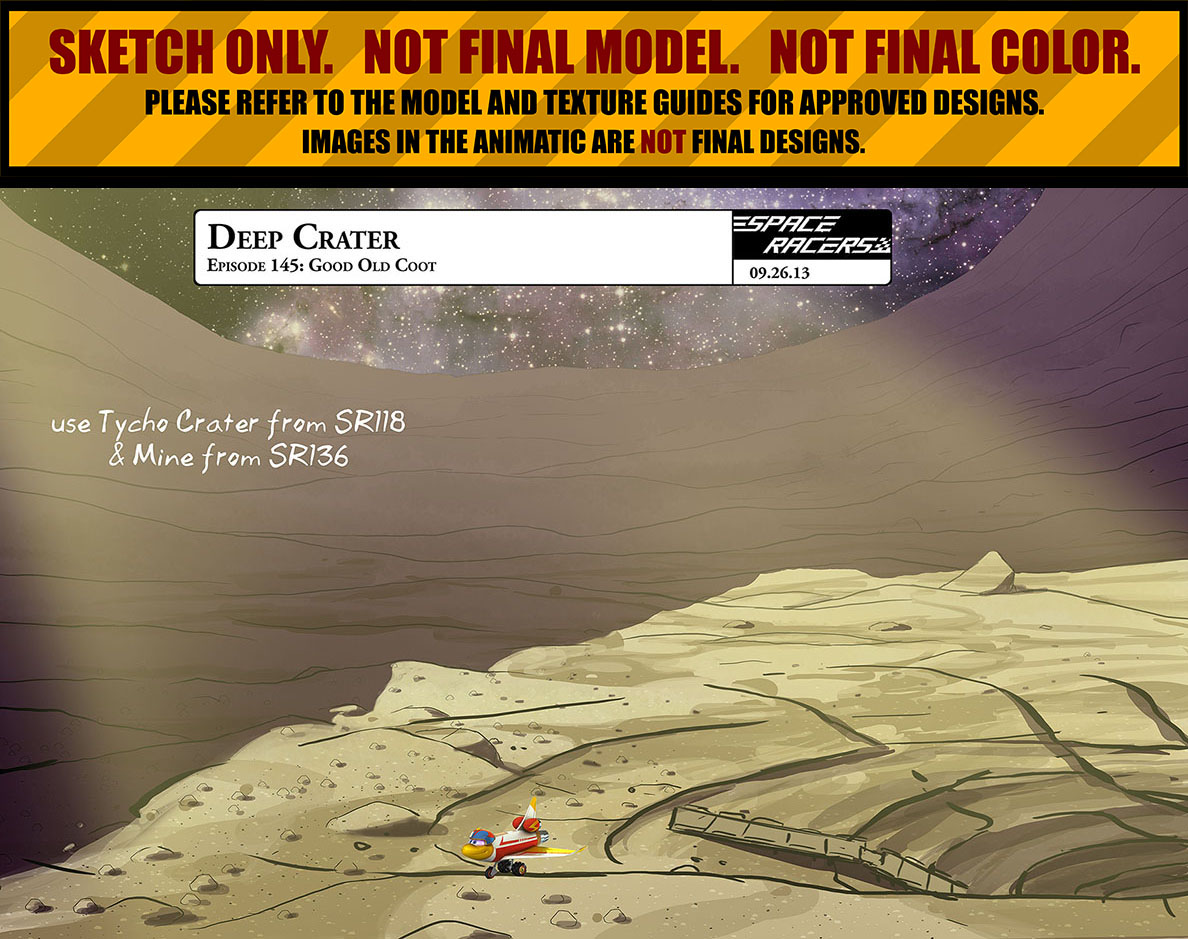
[existing Mine model can be found on the Aitken Basin Mine page]
|
|
|
|
|

|
render not required |
|

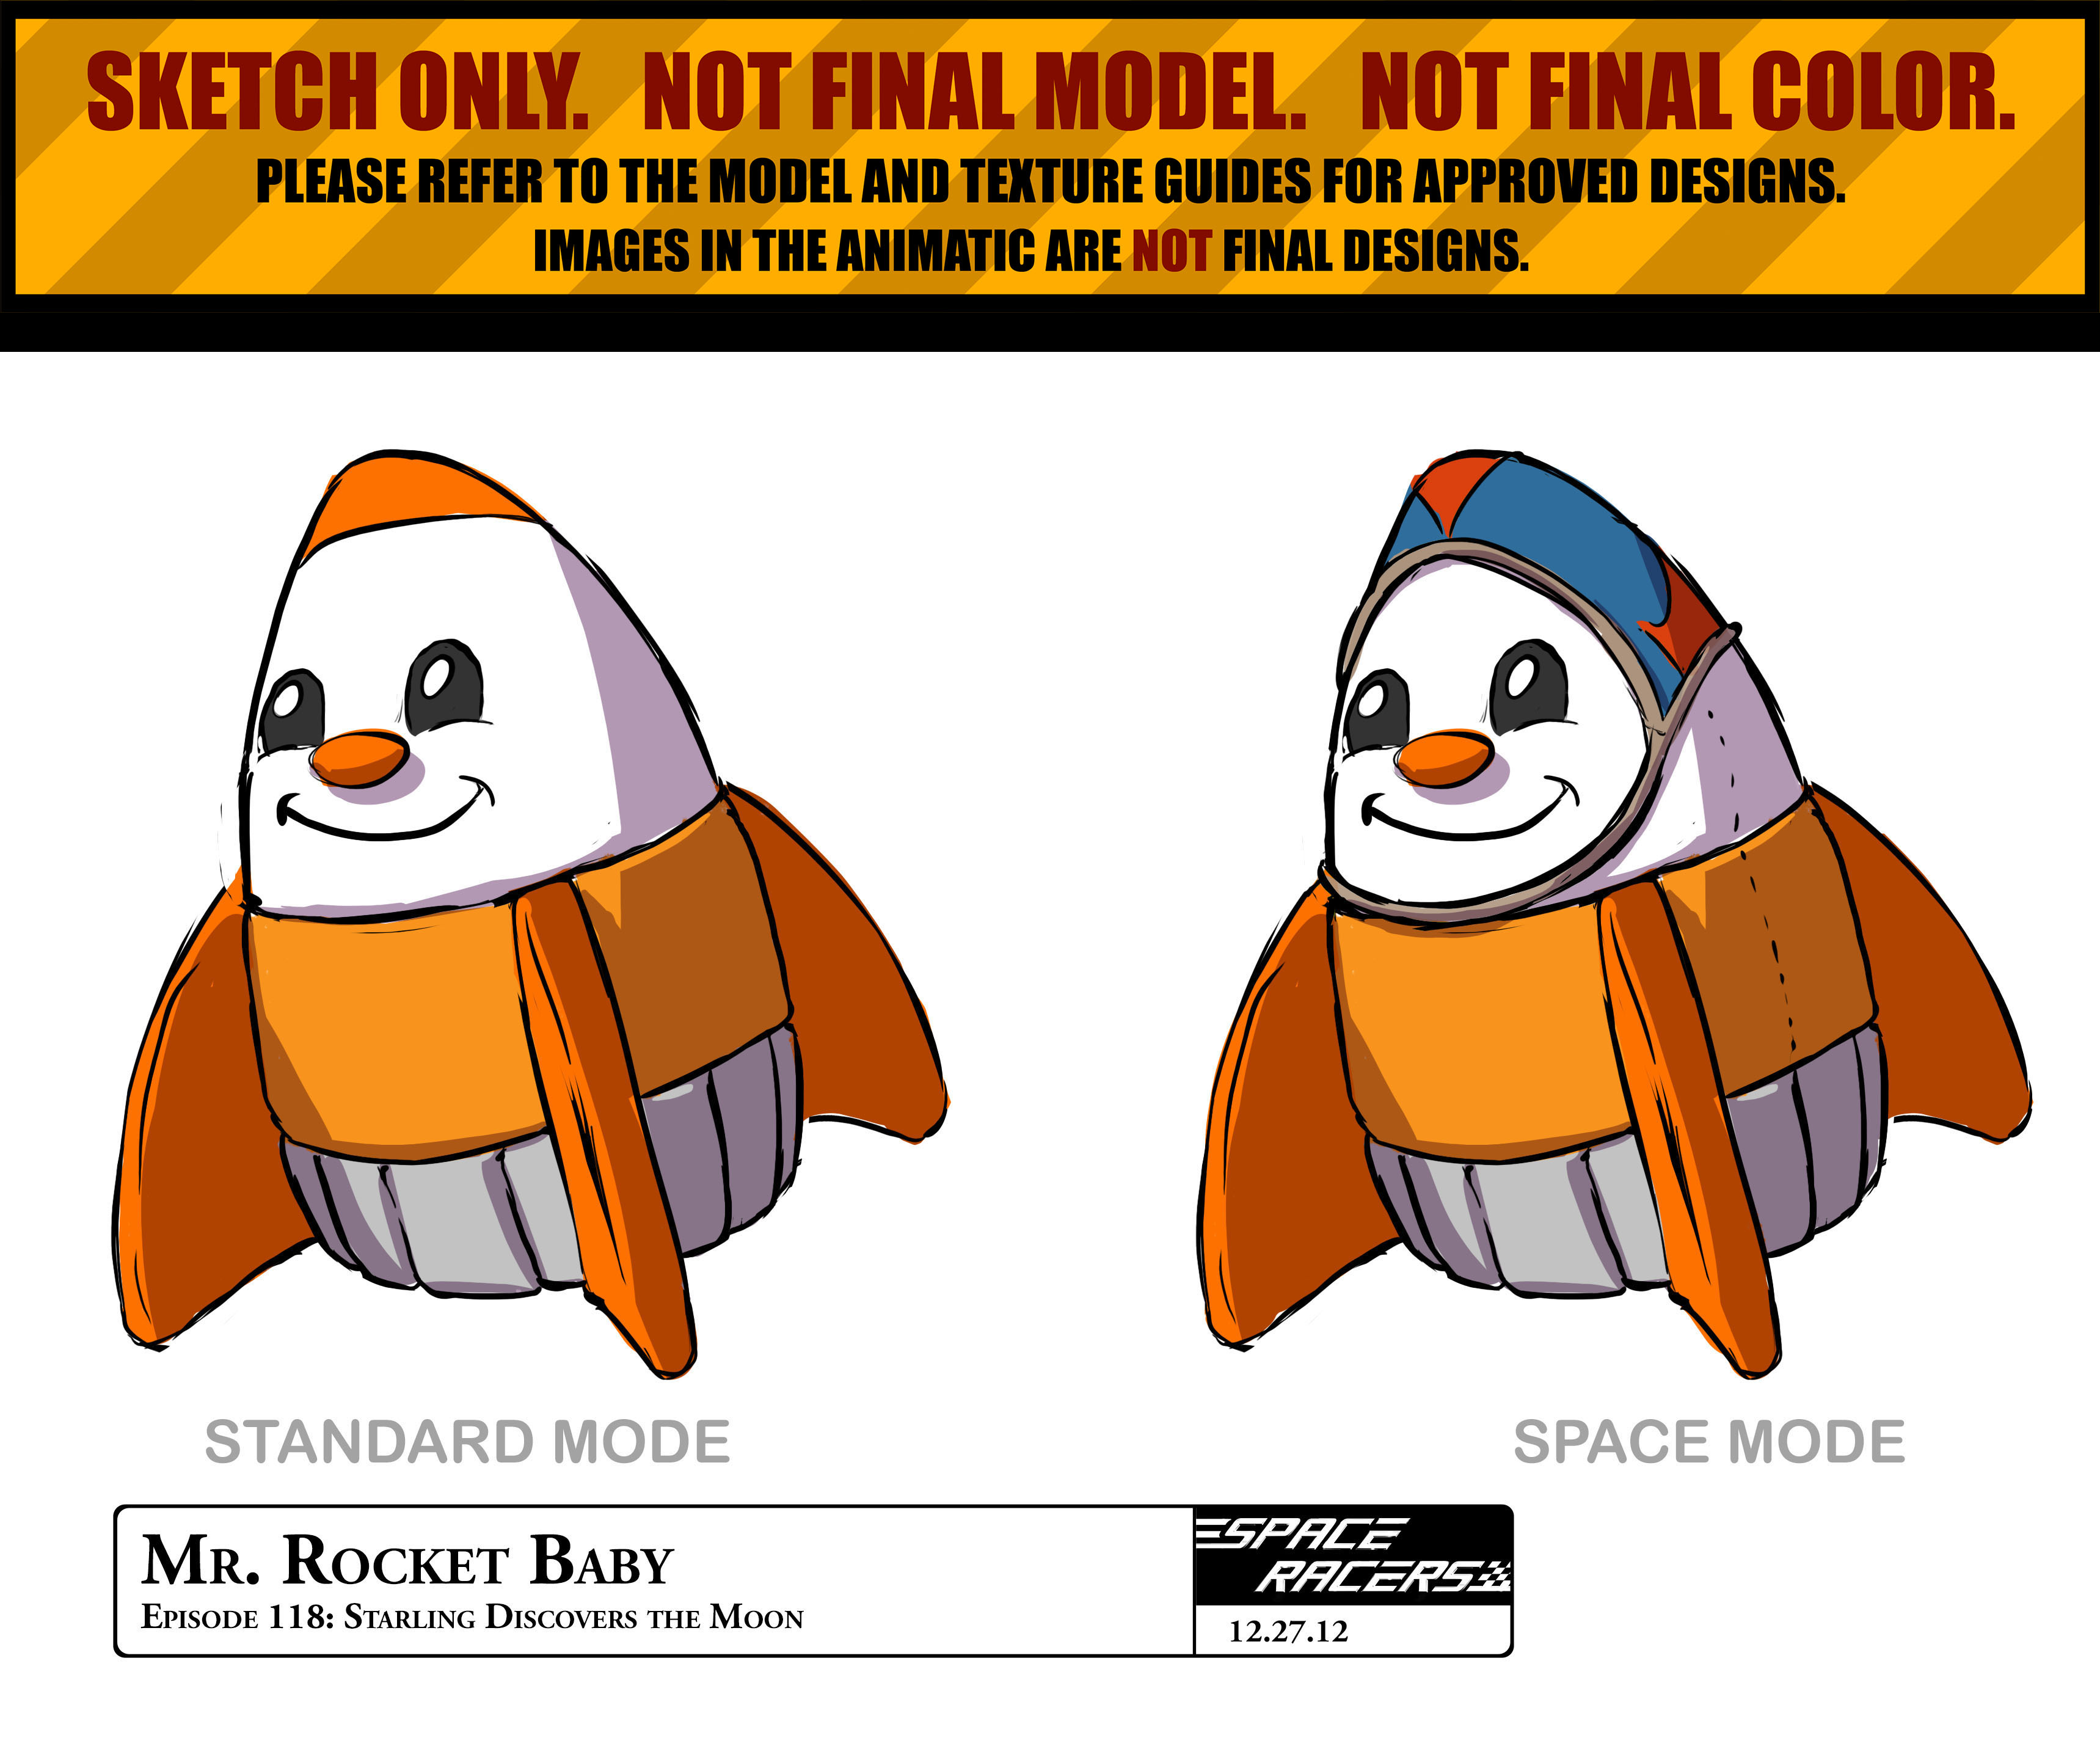
CHARACTERS


|
|
|
|
|
|

|
|
|
|

|
render not required |
|
|
render not required |
|
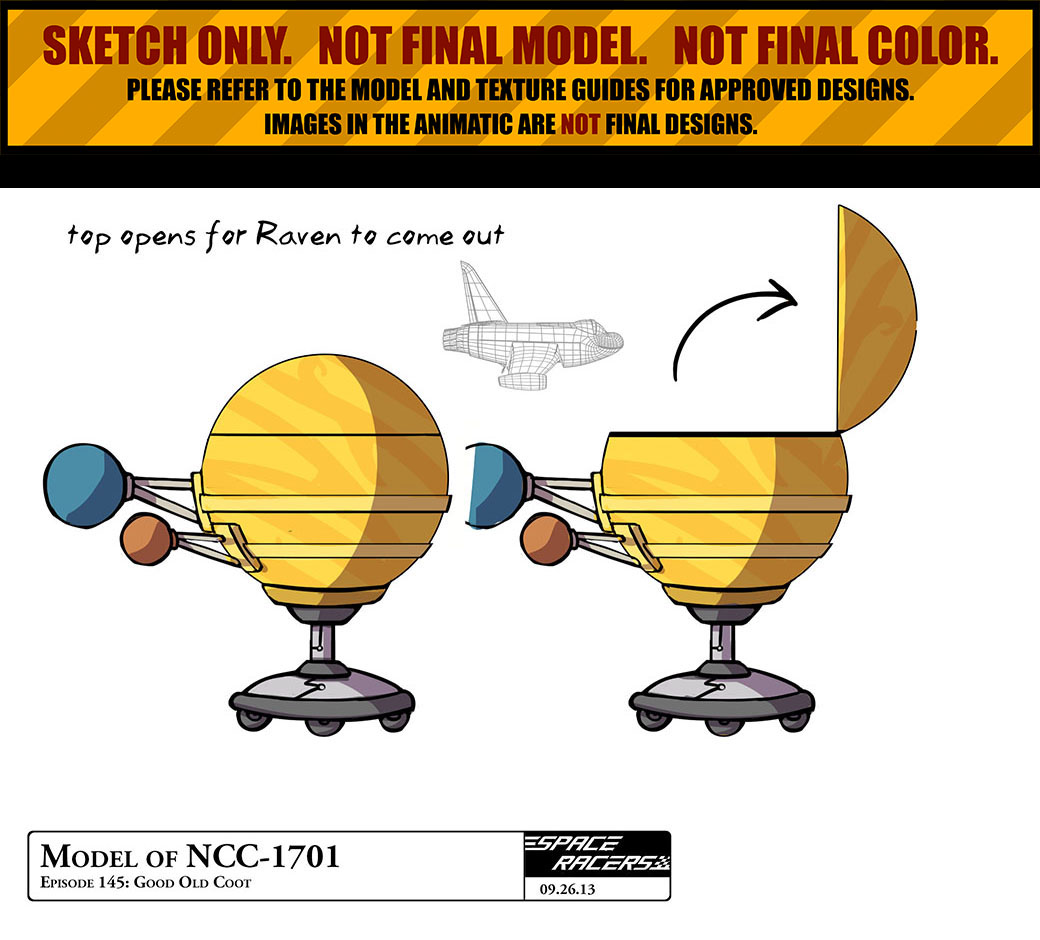
props

|
|
|
|
|
|
render not required |
|
[existing lab set can be found on the SR122: "The Hawk Factor" page]
|
|
|
|
|
|
render not required |
|

|
|

|
|
|
|
render not required |
|
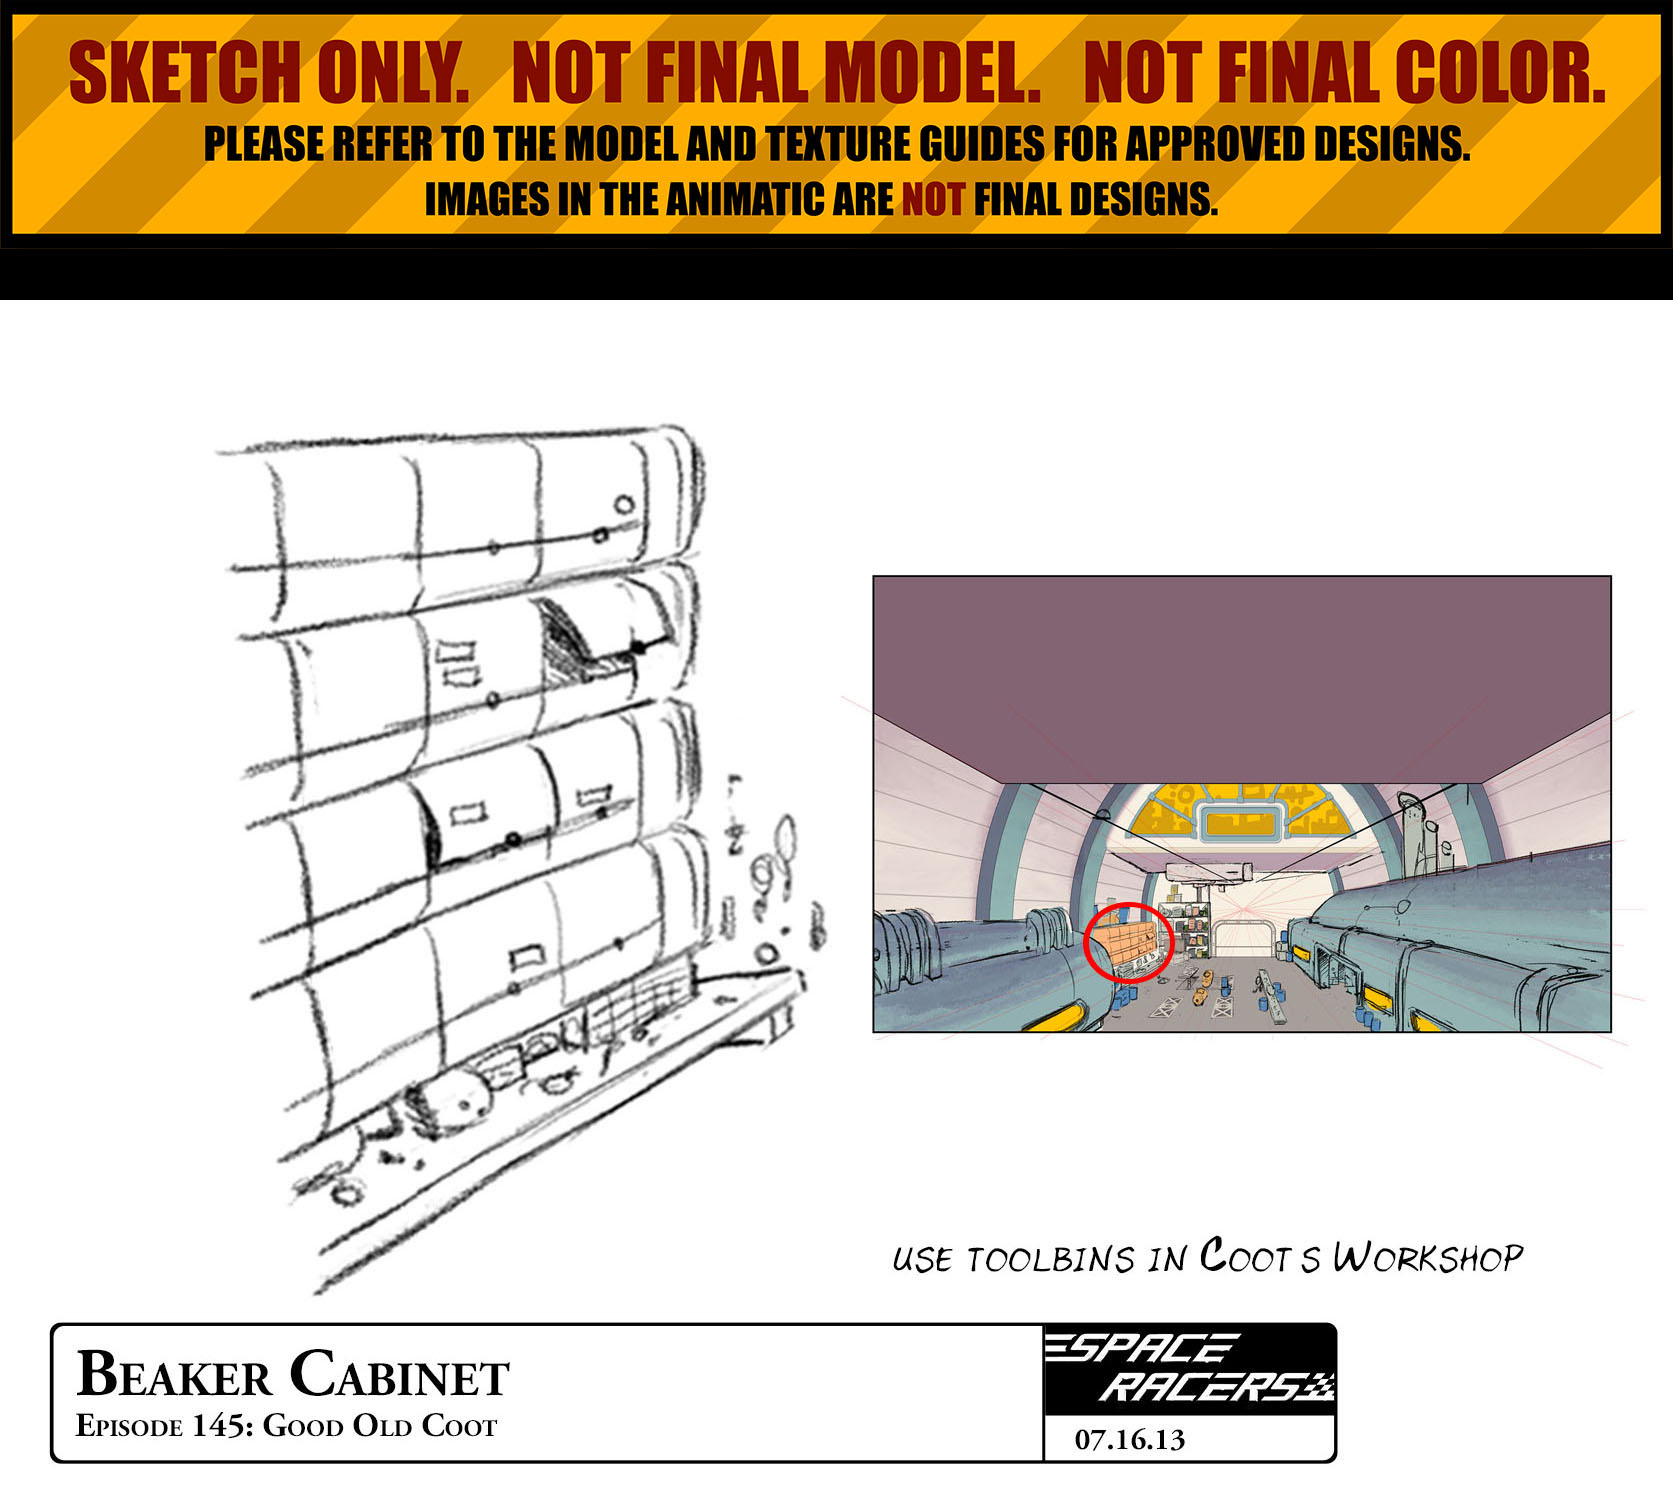
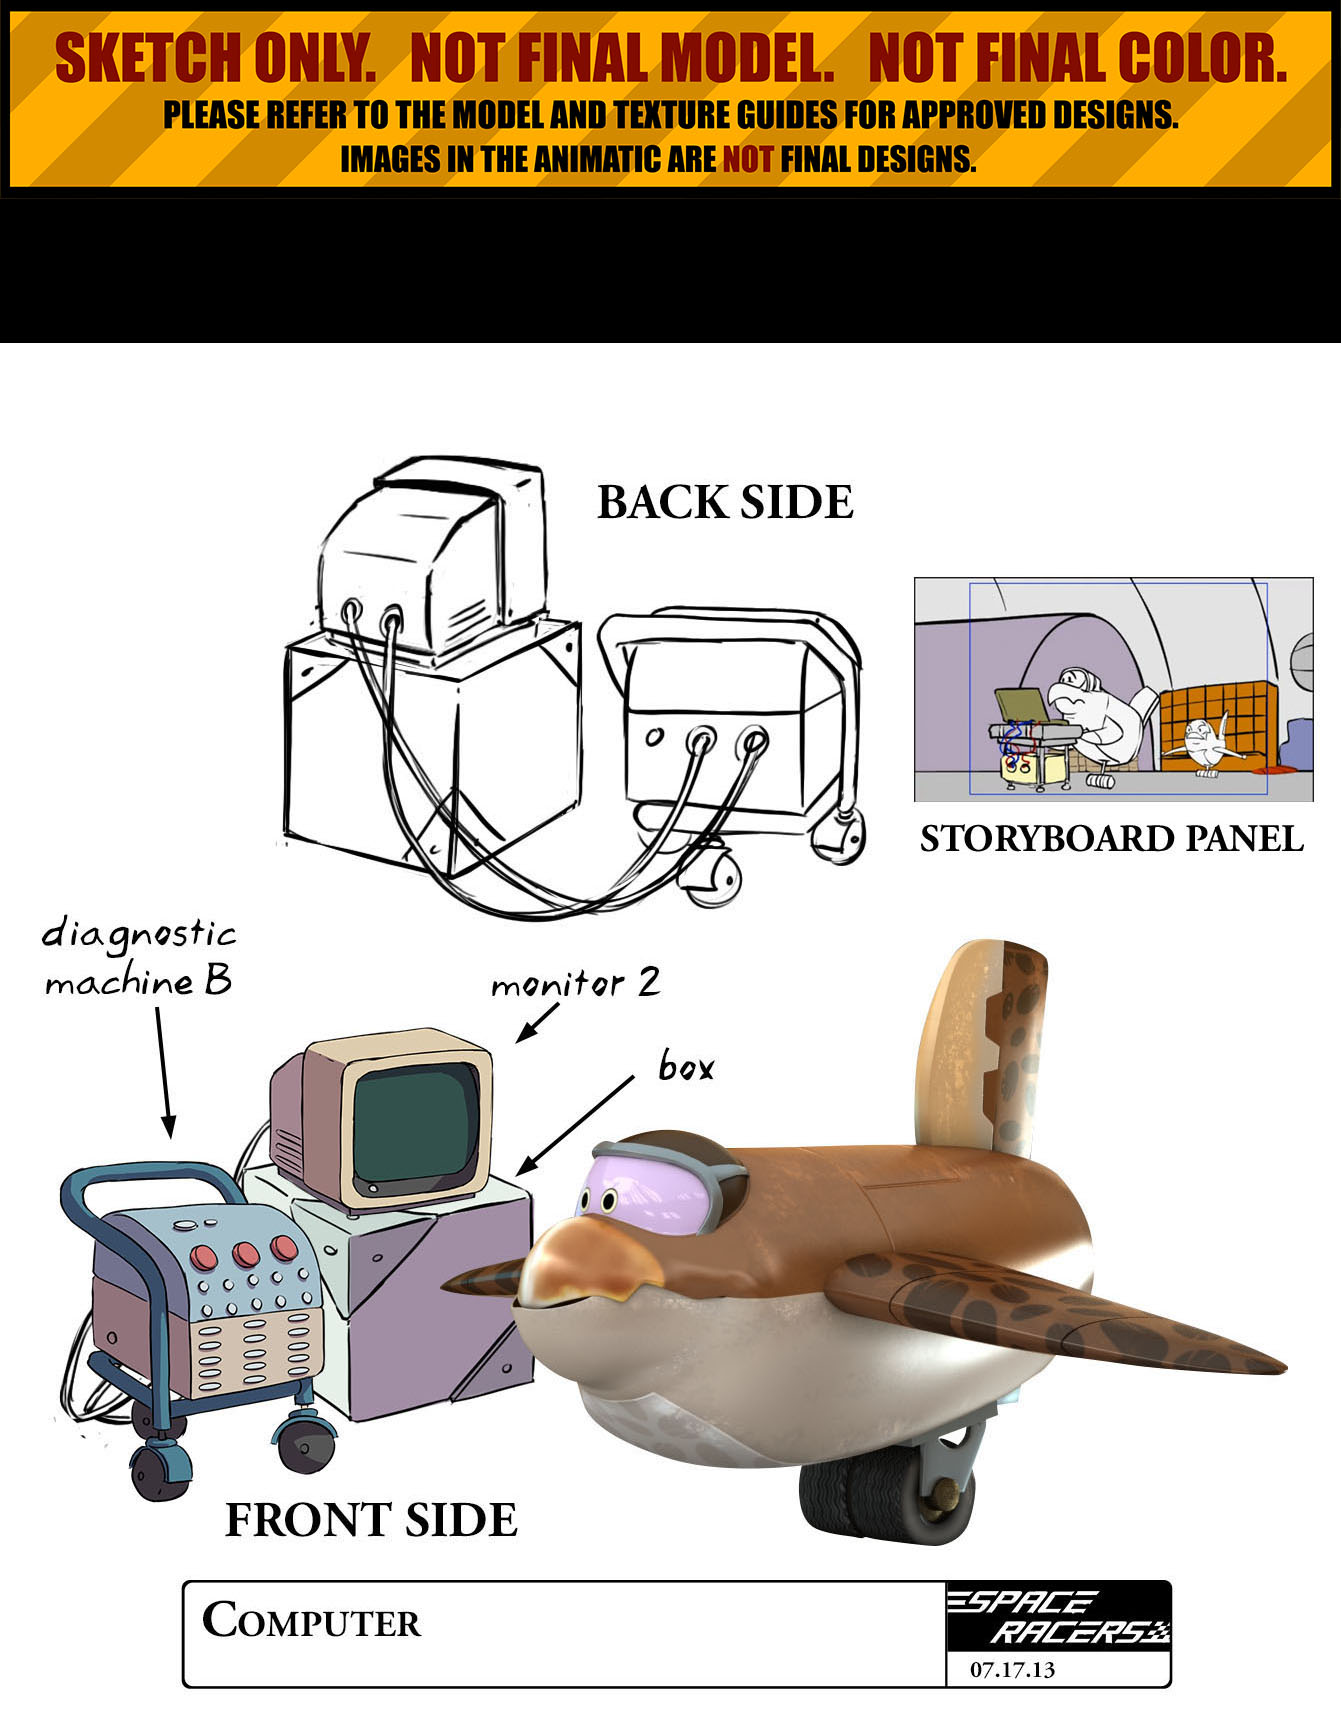
[existing monitor 2 model can be found on the Coot's Workshop page]
[existing box model can be found on the Eagle's Main Dorm Room page]
|
|

|
|
|
|
render not required |
|
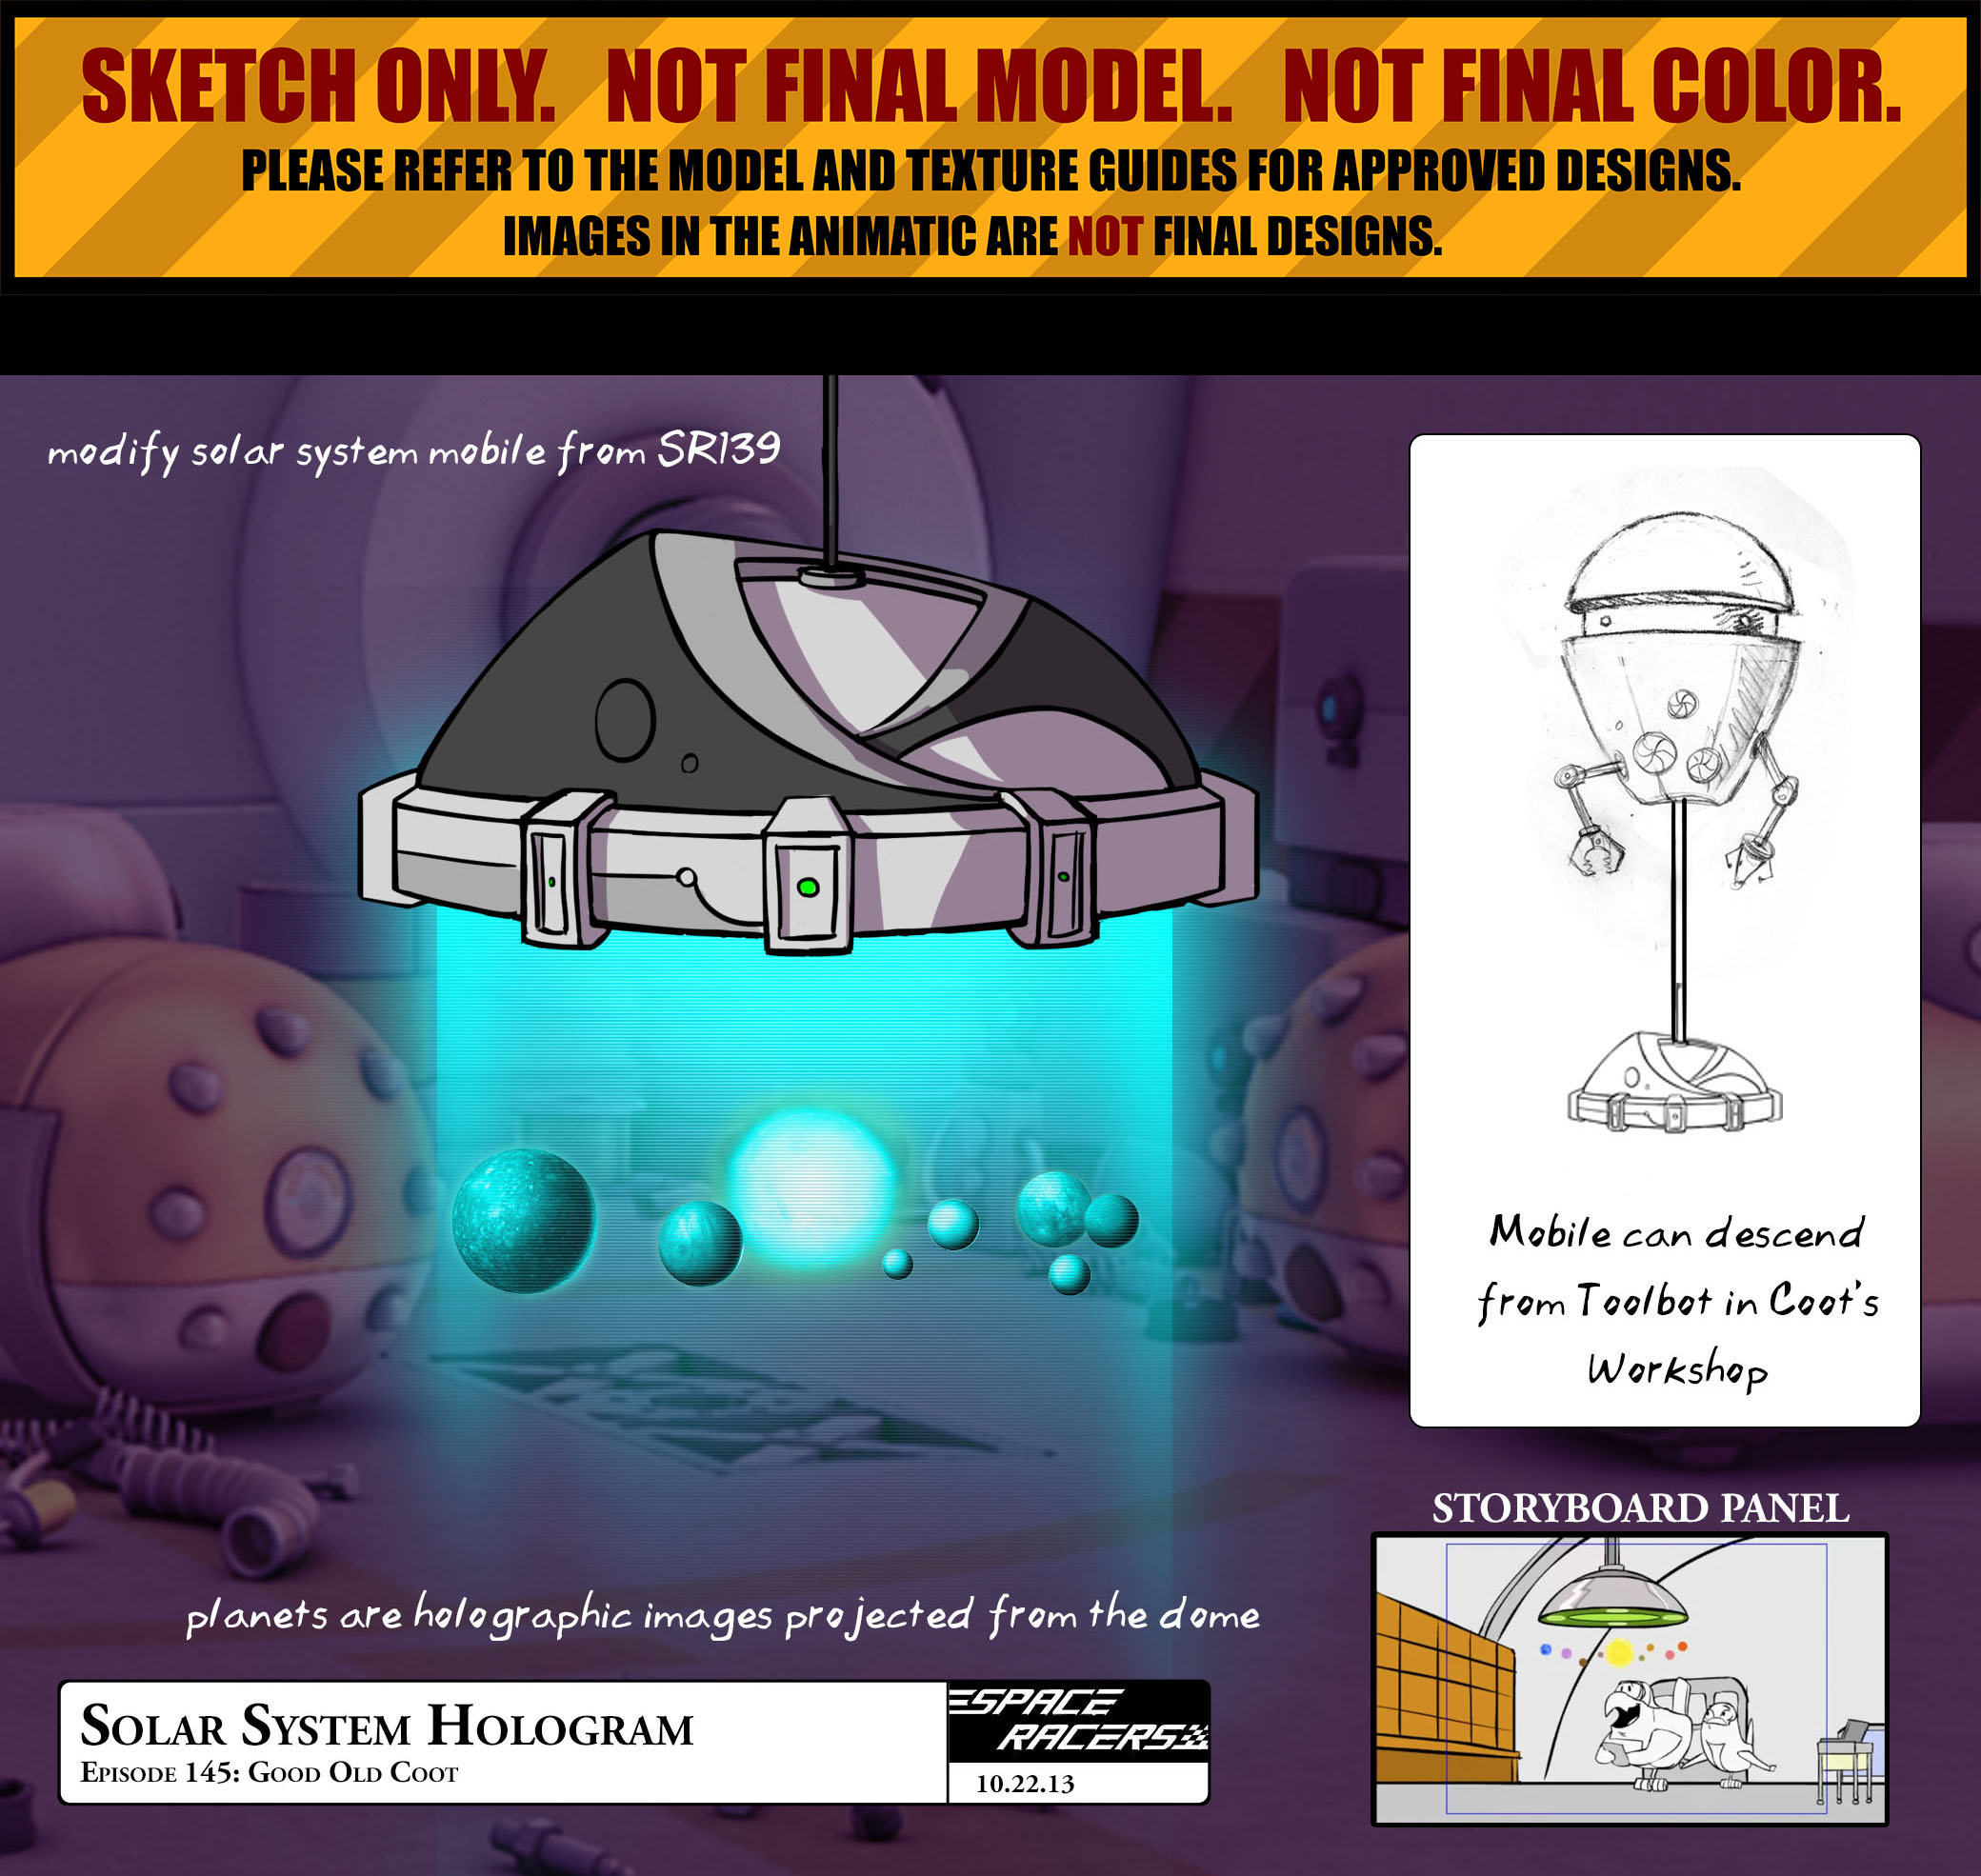
[existing Mobile model can be found on the SR139: "Sick Day" page]

|
|
|
|
|
|
render not required |
|


|
|

|
render not required |
|
|
render not required |
|
|
|
|
|
|
|
render not required |
|
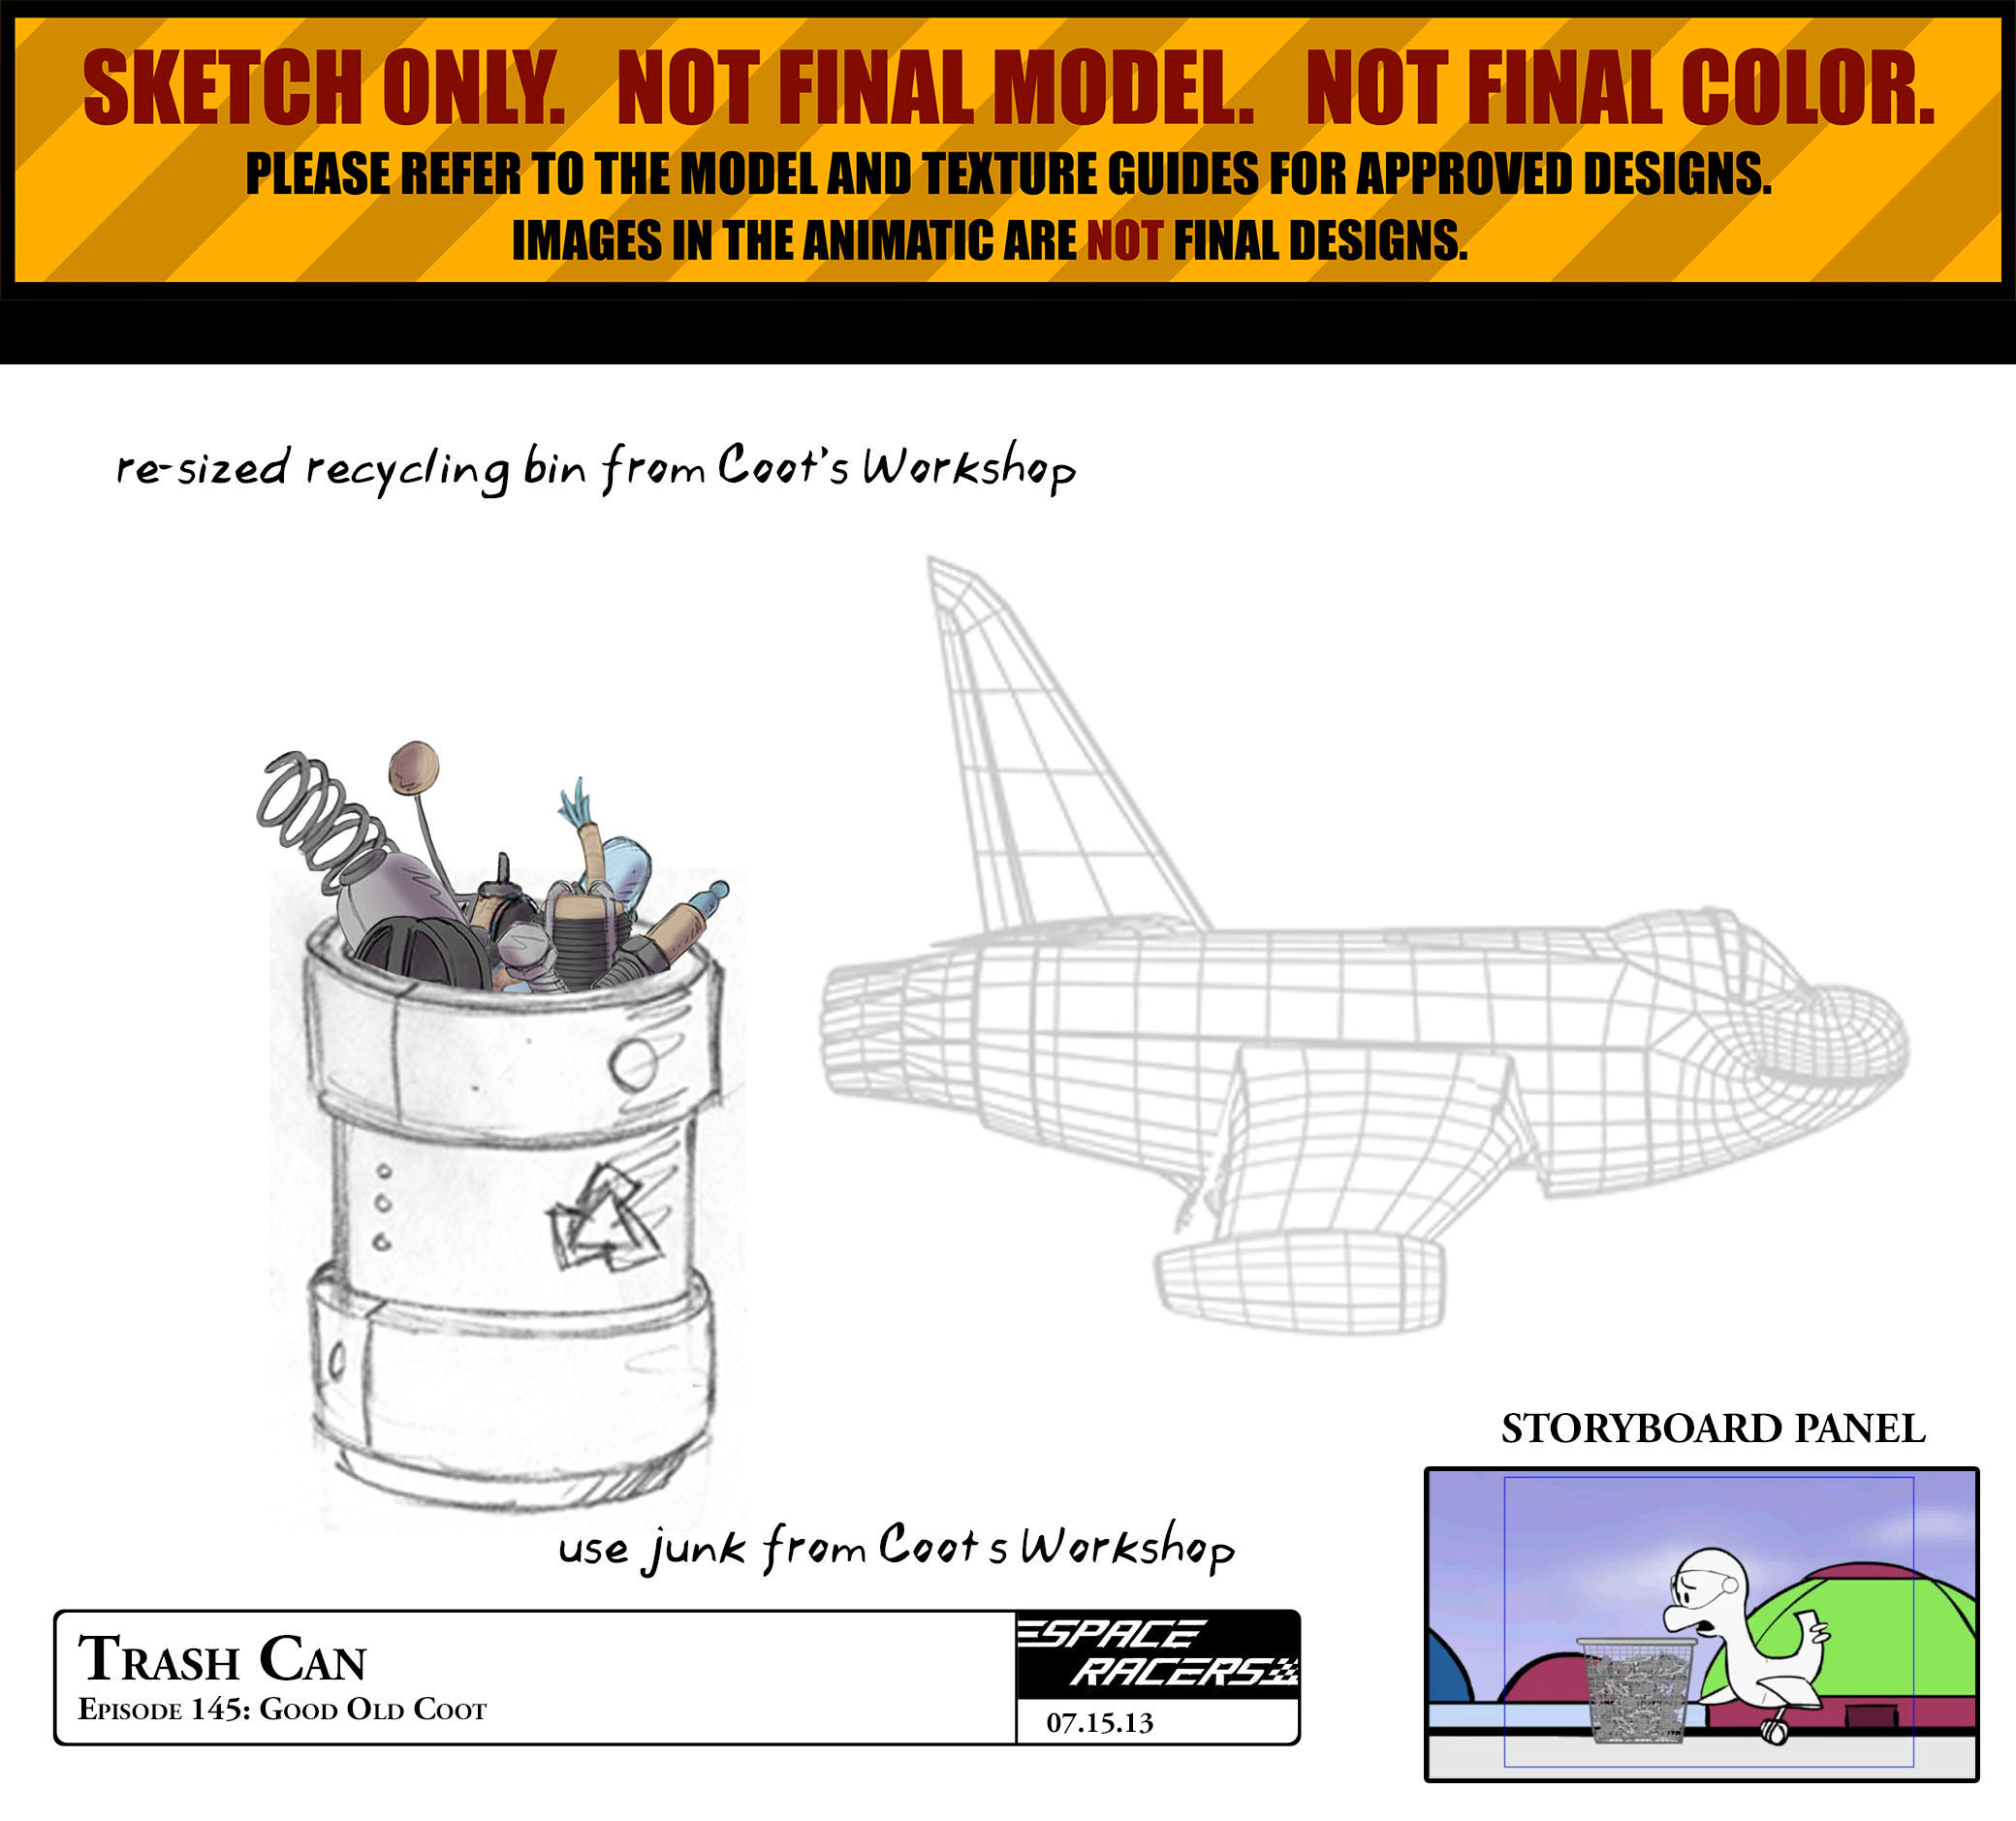
[existing junk model can be found on the Coot's Workshop page]
|
|
|
|
|
|
render not required |
|
|
|

|
render not required |
|
|

|
|
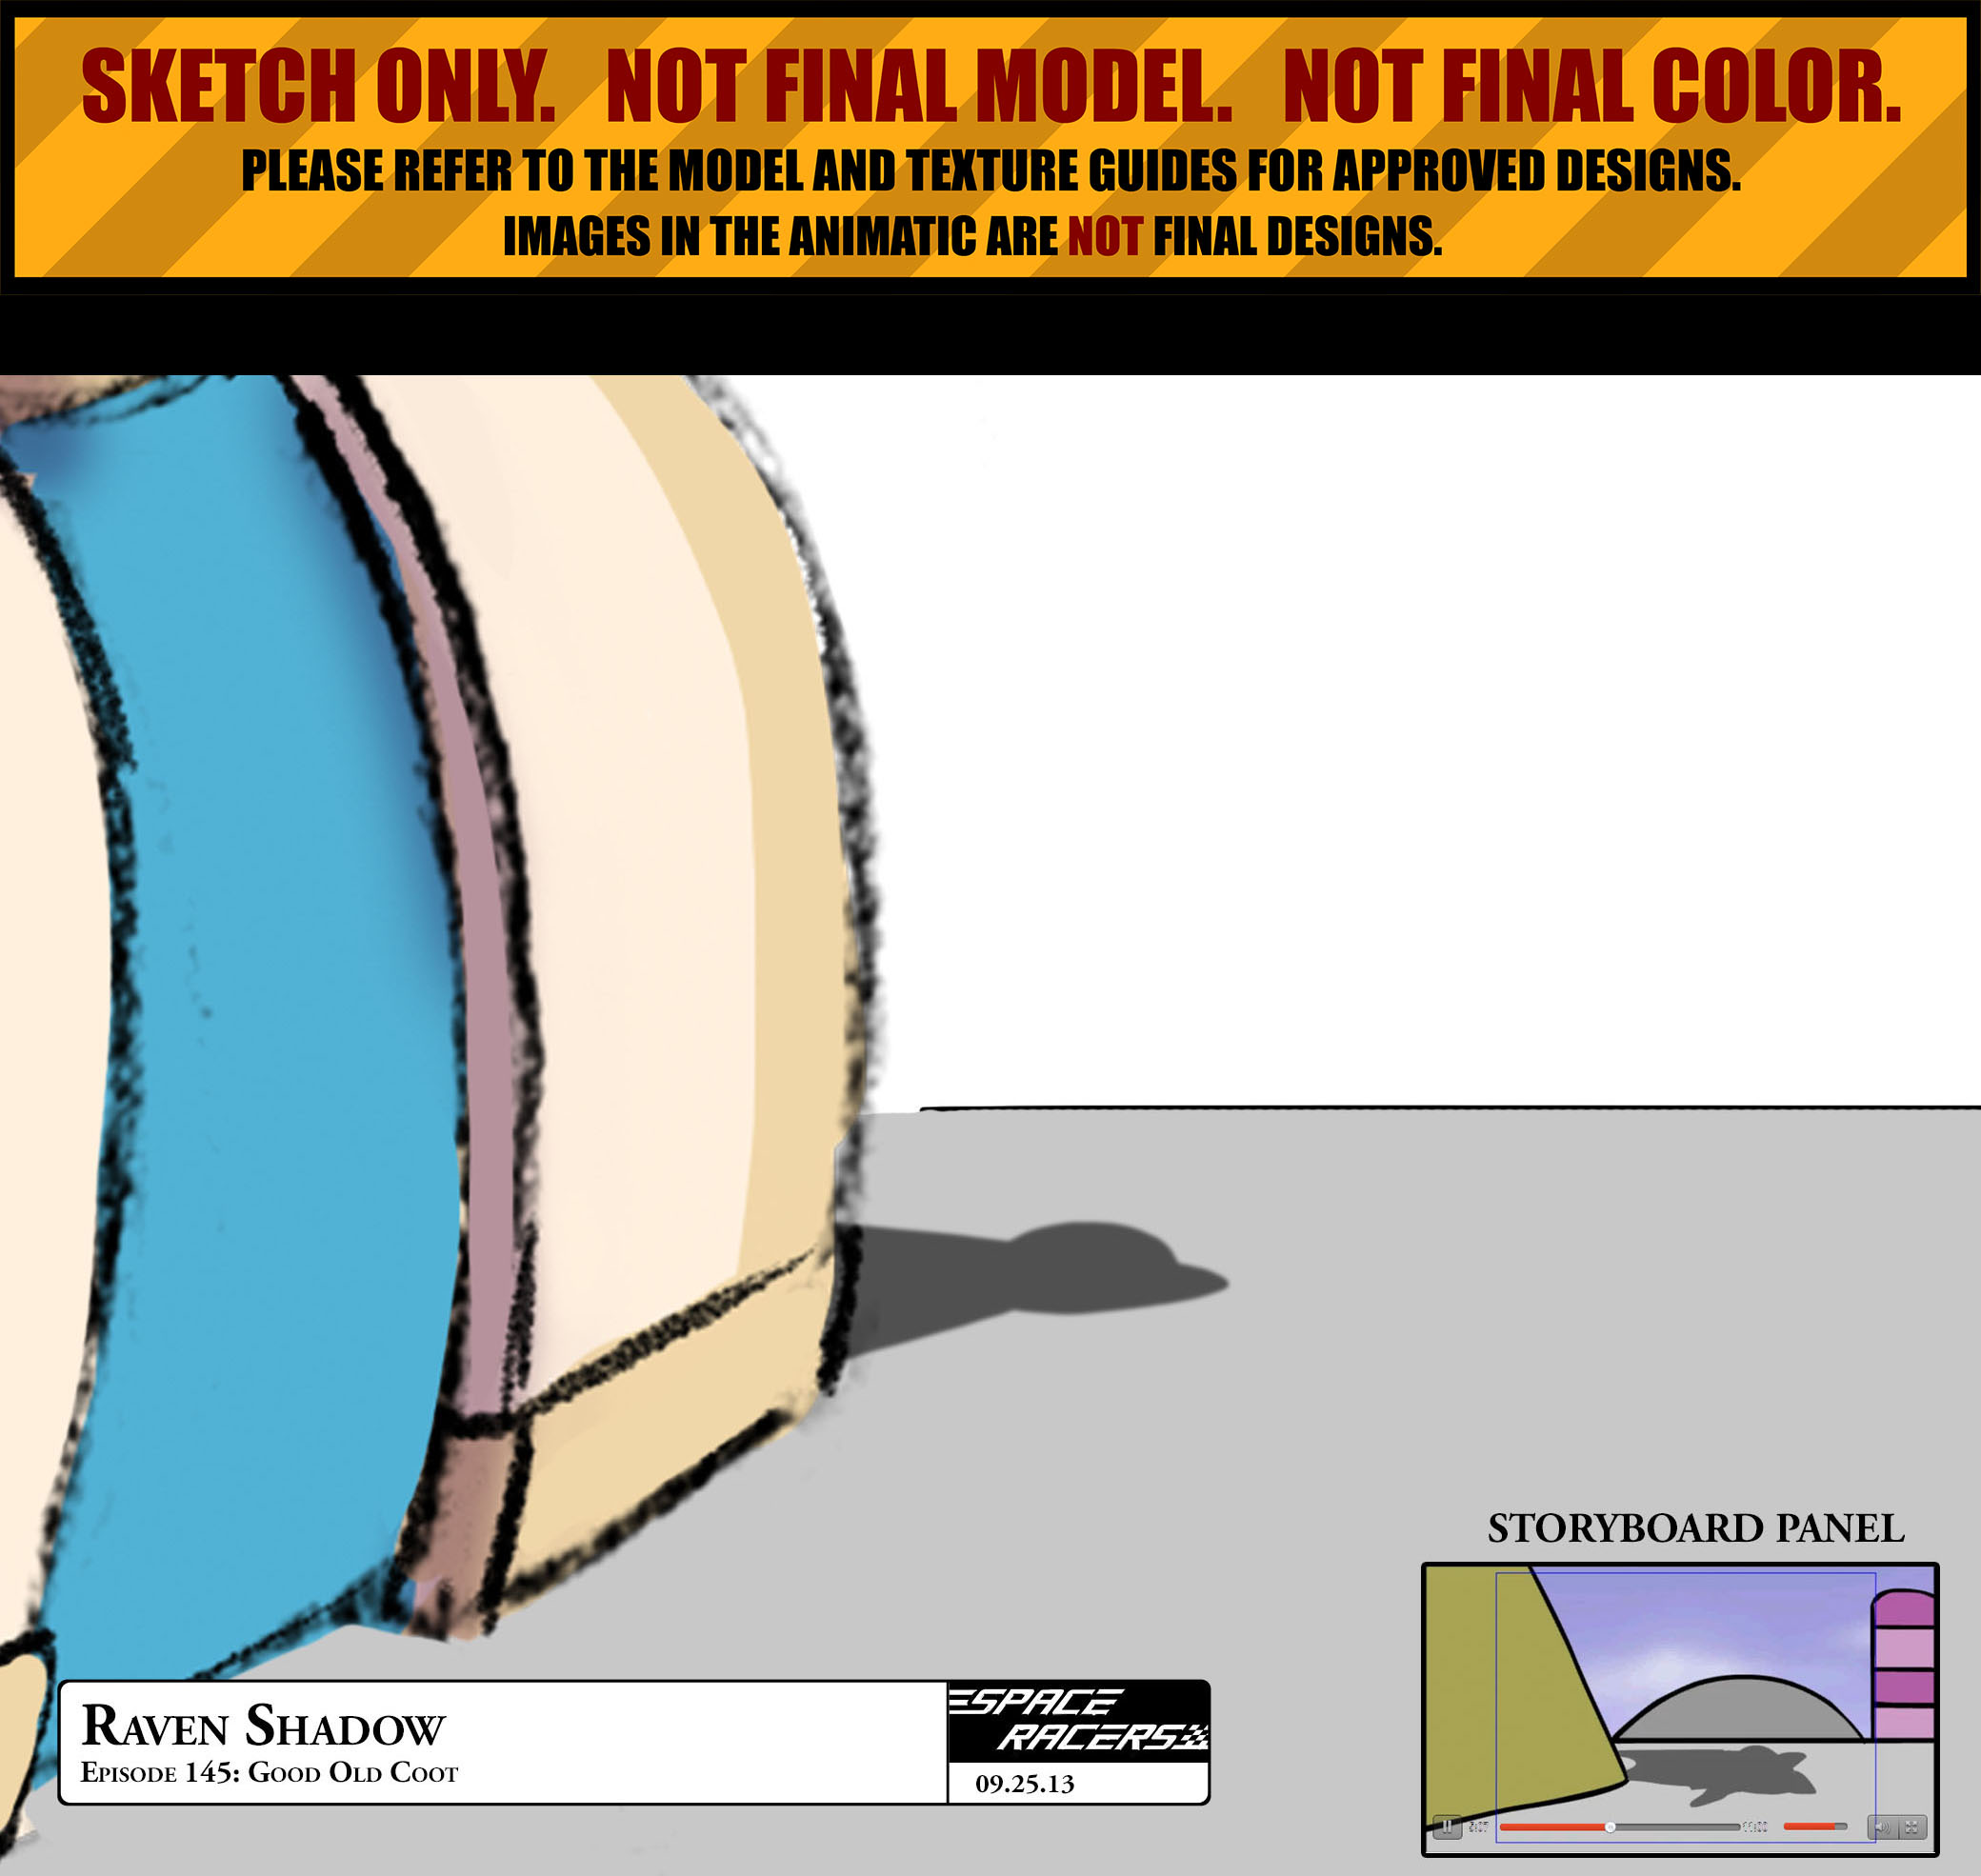
Special FX
|
|

|
|
|
|
render not required |
|
|
|
|
|
|
|
render not required |
|
2D Flat Screens
|
|
|

|
|
|

|
render not required |
|
|||||||

|
|
|
|
|
|
render not required |
|